
Modesto Junior College
One of the oldest community colleges in California, MJC has two main campuses in the city of Modesto and serves more than 18,000 day and evening students each semester.
LET'S GO
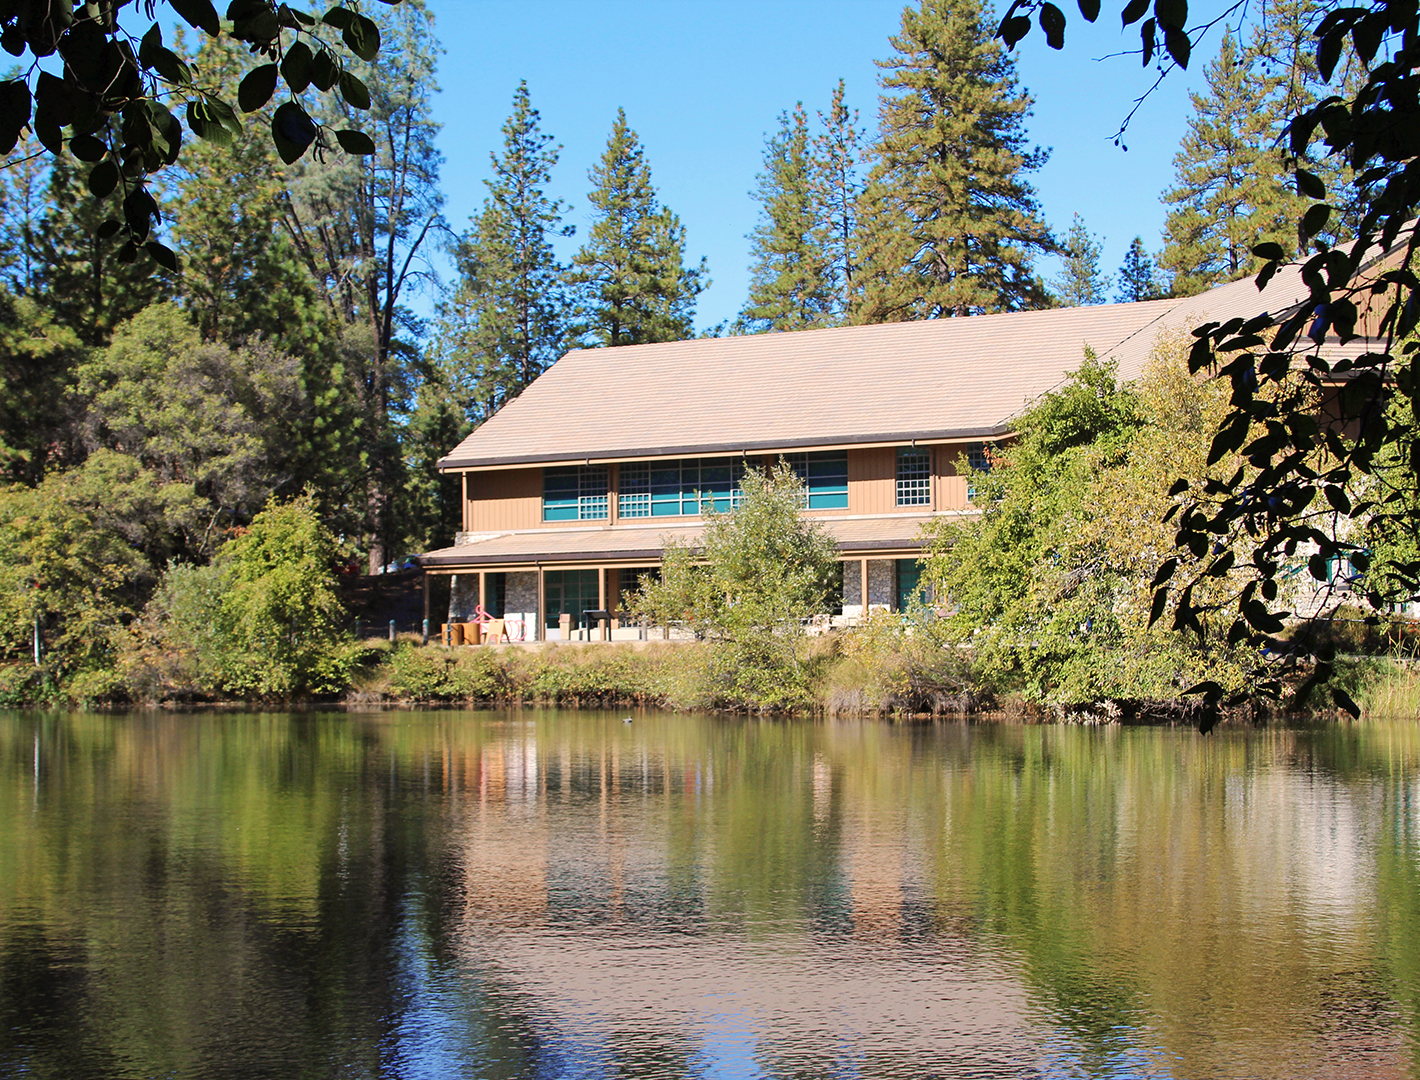
Columbia College
Located near the city of Sonora in the wooded Sierra Nevada foothills, Columbia College is a primary resource of adult learning for residents throughout the Mother Lode region.
LET'S GO